Way way back in our first home Dave and I put in a garden along the back edge of our lot, then we created a big huge circle planting area. Ugh. It was so hard to get into the garden to weed and hard to see the flowers. And it was ugly.
I thought about these two false starts and realized that my garden needed
- Smaller planting areas. Ideally small enough that you could weed it in just a few minutes.
- Space between the planting areas with space to kneel for weeding.
- Pathways that allow you to wander through the space, enjoy flowers from every angle. I love paths anywhere and in a garden they are magical.
Garden paths are the answer. We next put in a beautiful garden with curved walkways where Dave carefully cut pavers to fit the curves. When we moved I wanted to take that garden with me!
Our next garden used pavers too but we learned to simplify the shapes. These were all straight with right angles, easy to lay down with rectangular paving blocks.
Two years ago when we moved here we decided to do something different, something to avoid the weeds that came up between the paving stones and the low spots when the pavers sunk. The previous owners had landscaped with a path around the side of the house with pea gravel in between big stepping stones. We decided to replicate that in our new perennial garden.
I’ll show more about our garden over the next few months. Suffice it that it is at the back of the fenced in portion where the dirt is not good, the sprinklers don’t reach and the ground slopes from left to right and front to back. We decided to place it there despite the problems because we wanted something pretty to look at instead of the ugly chain link fence.
Here is how I made the pathways:
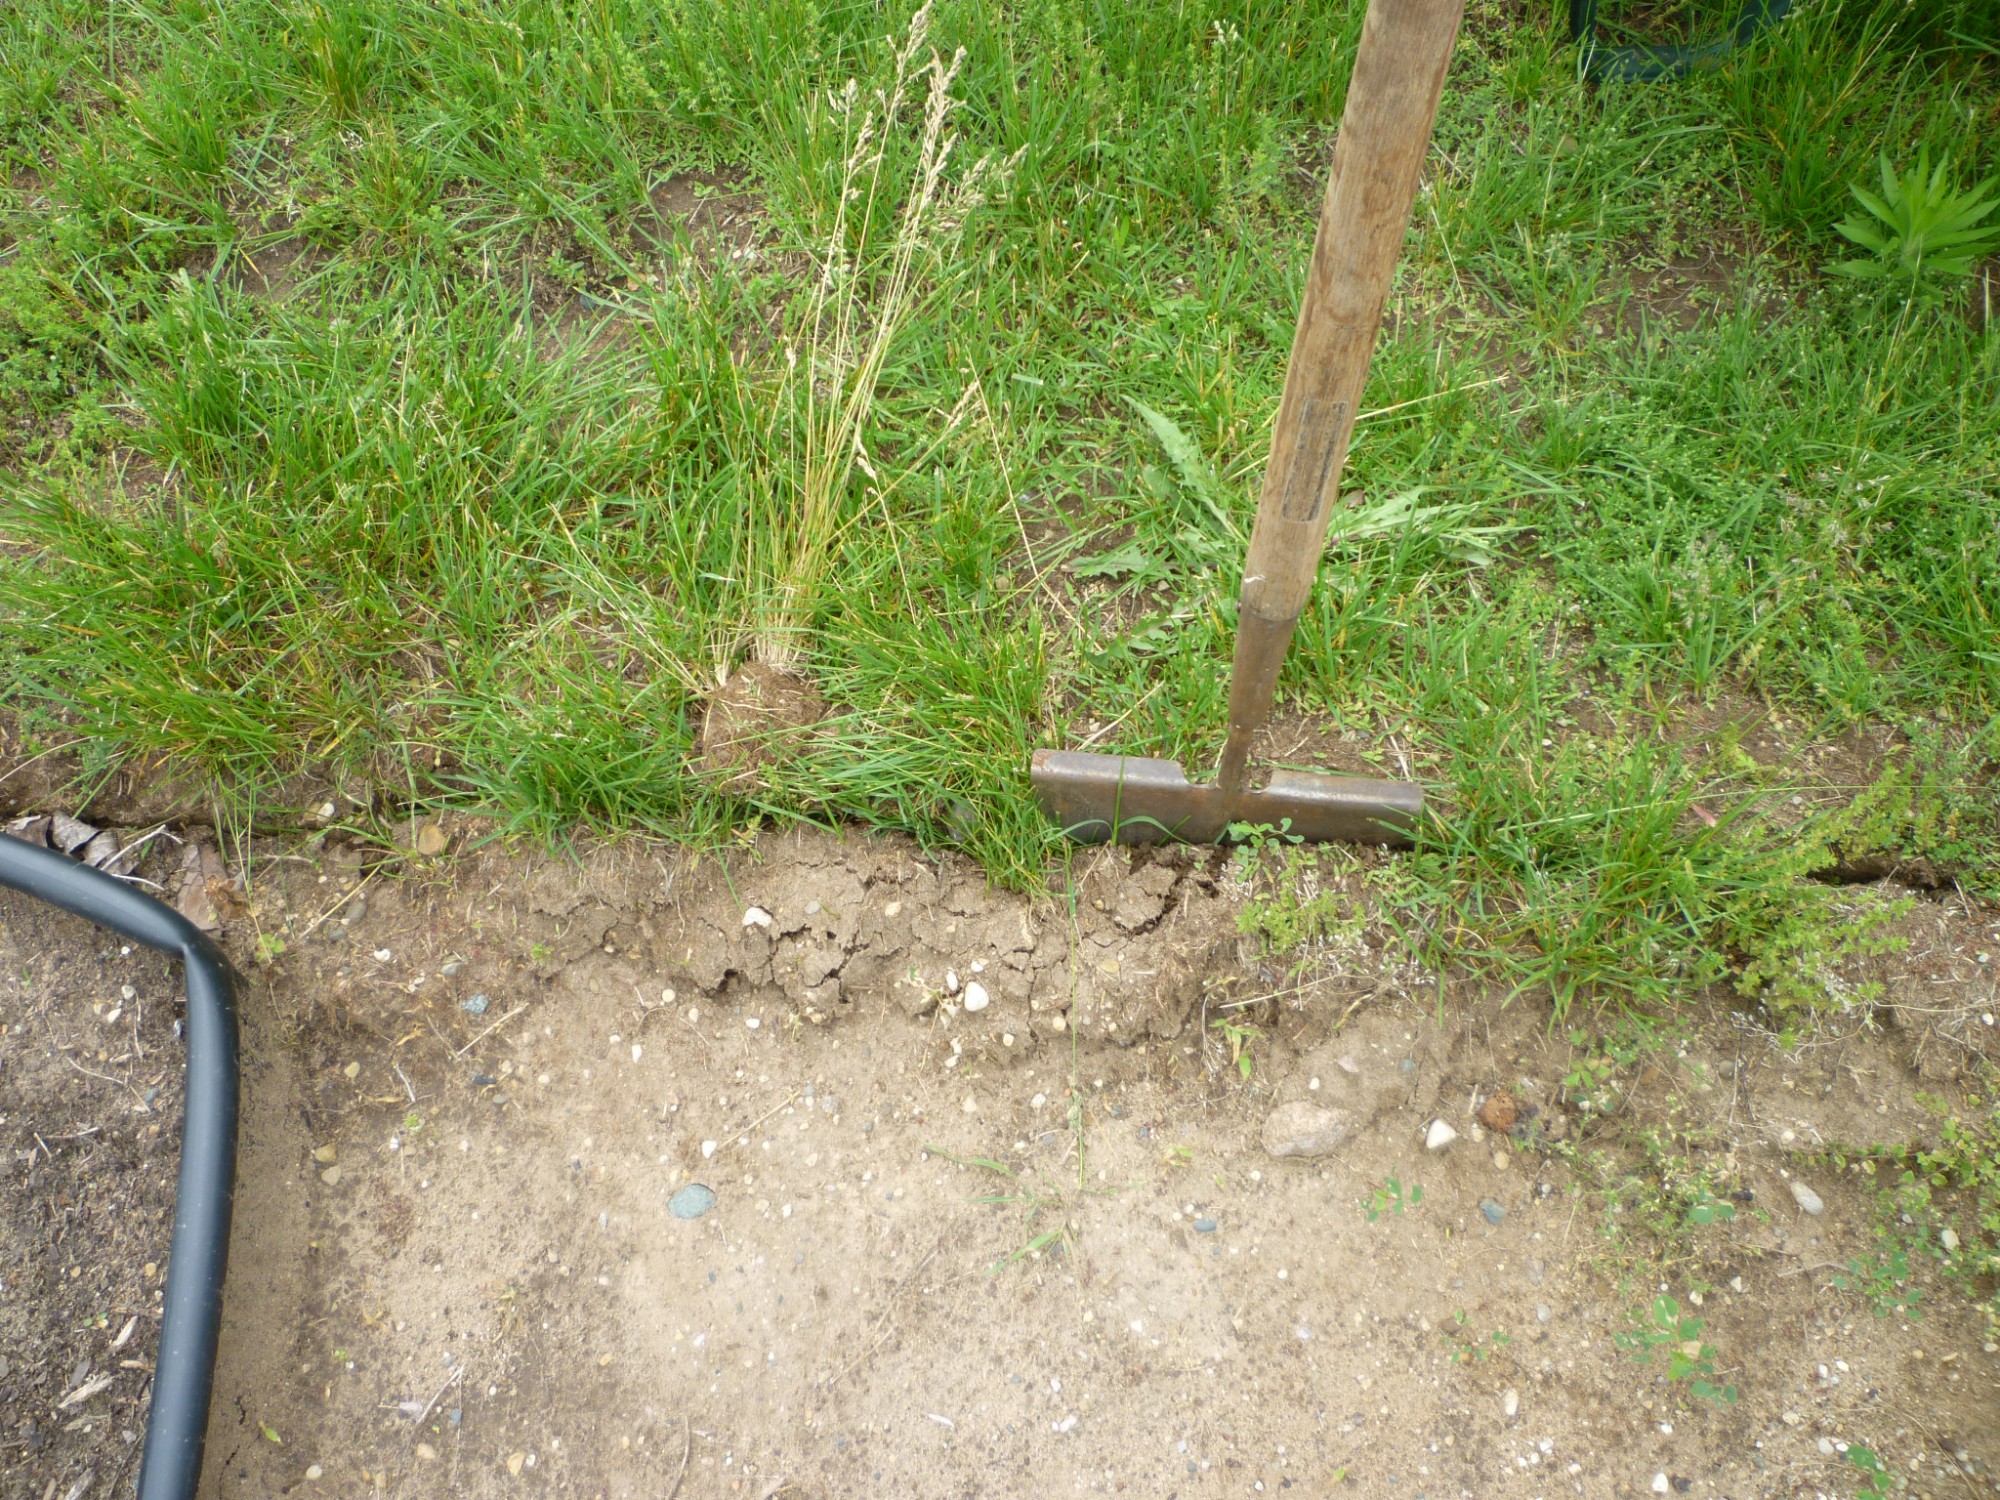
Step one is to clean off the end of each little path. I used an edger and spade to make a nice straight line.
Take extra care at the corners. You need to make a crisp edge.
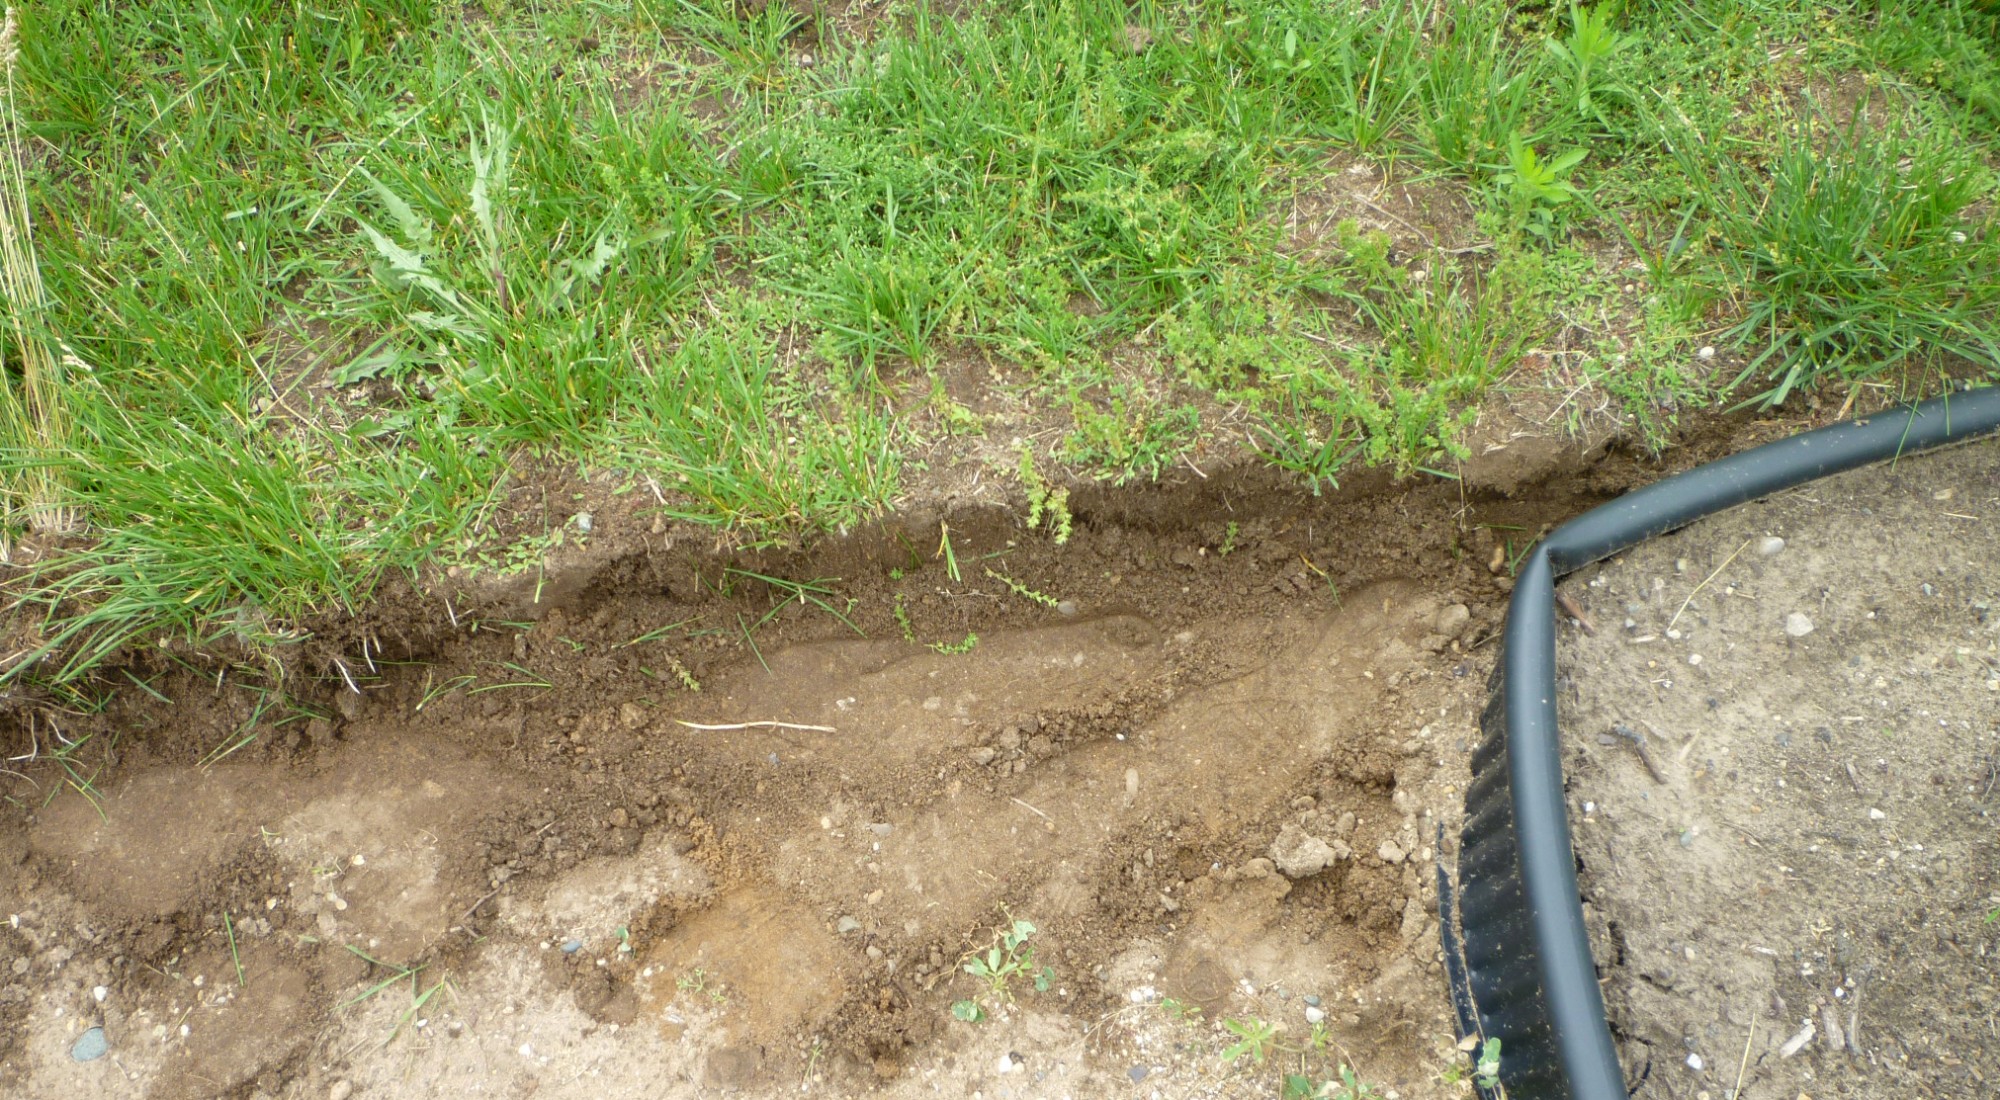
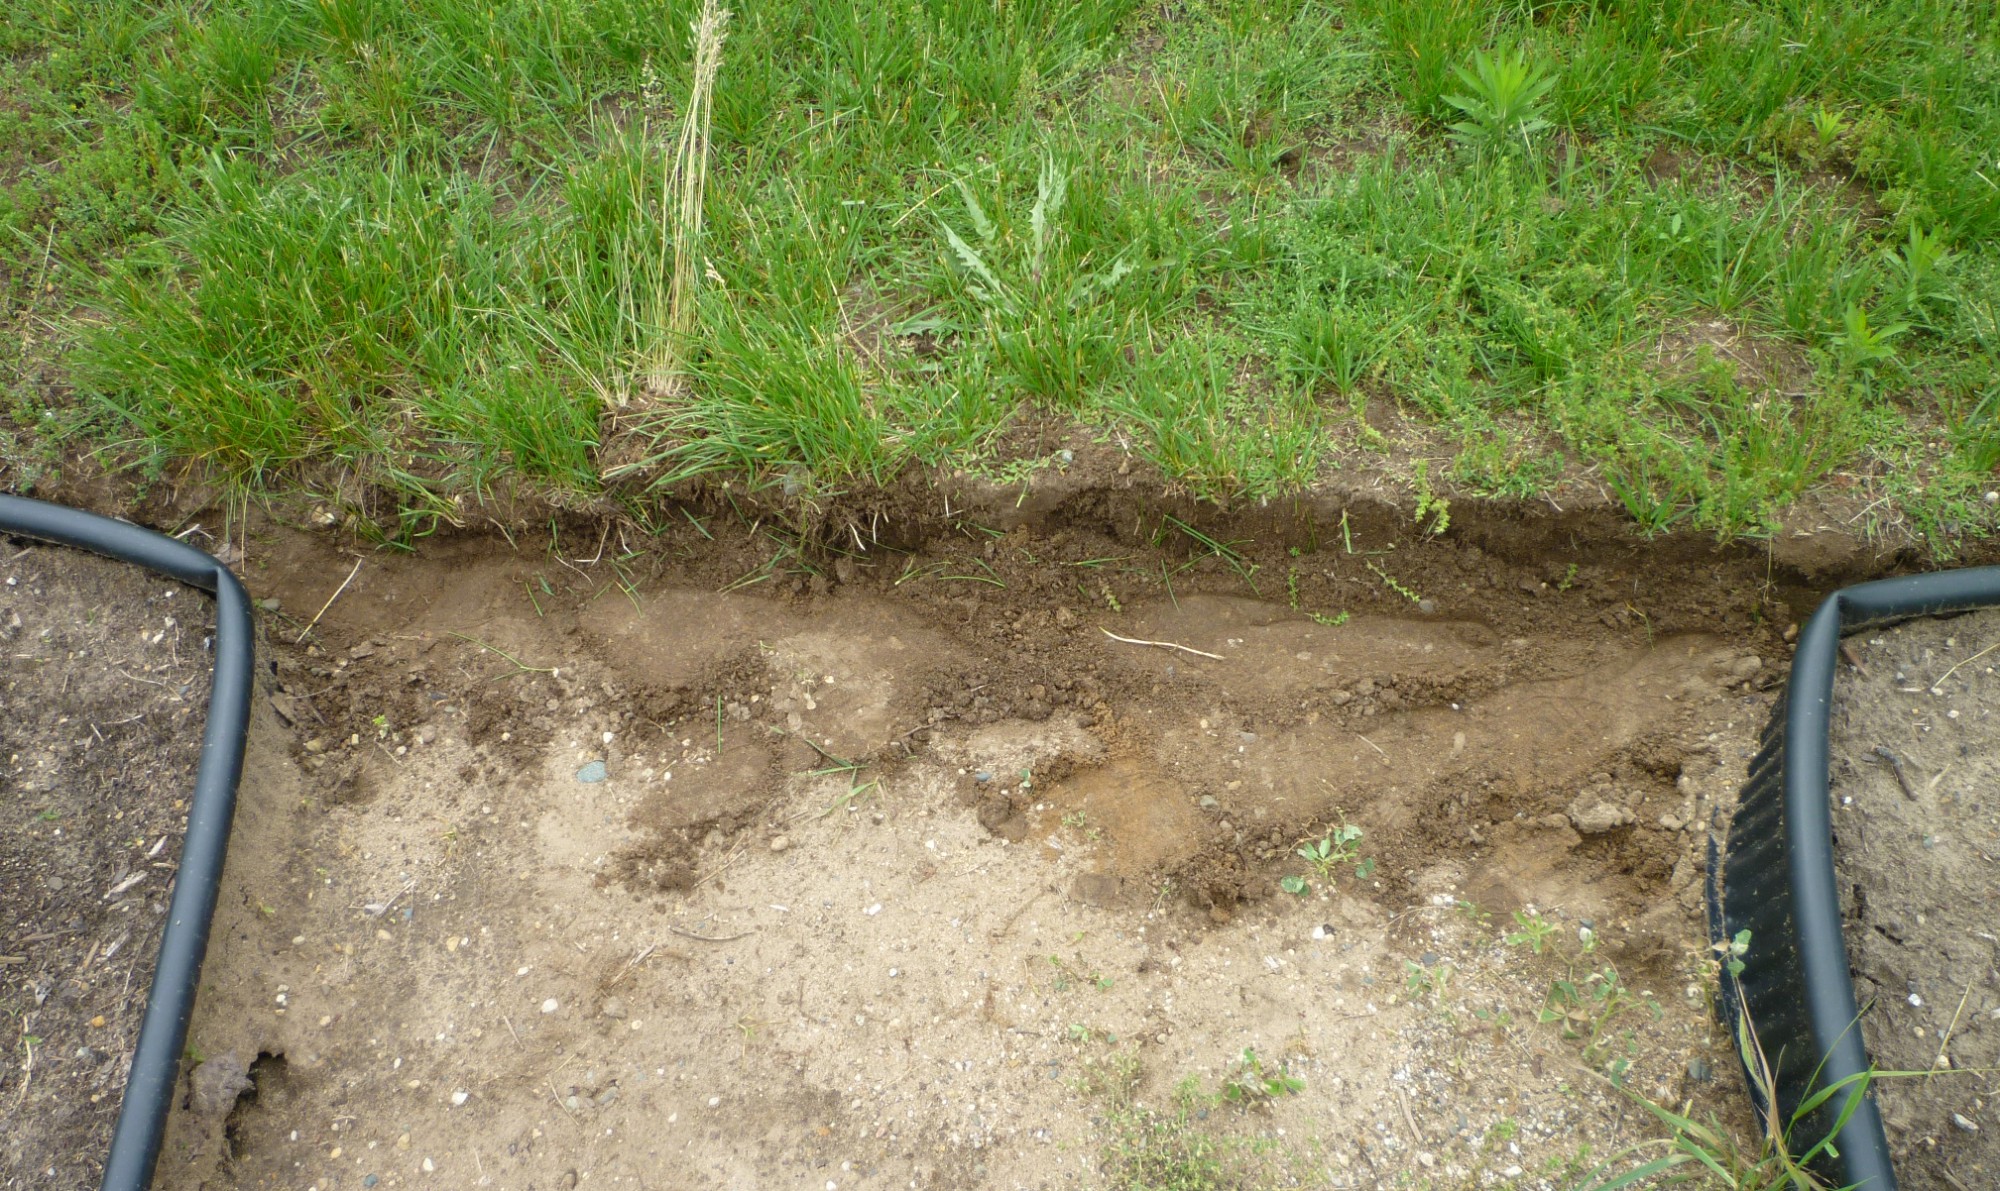
Here I’ve got it nice and straight.
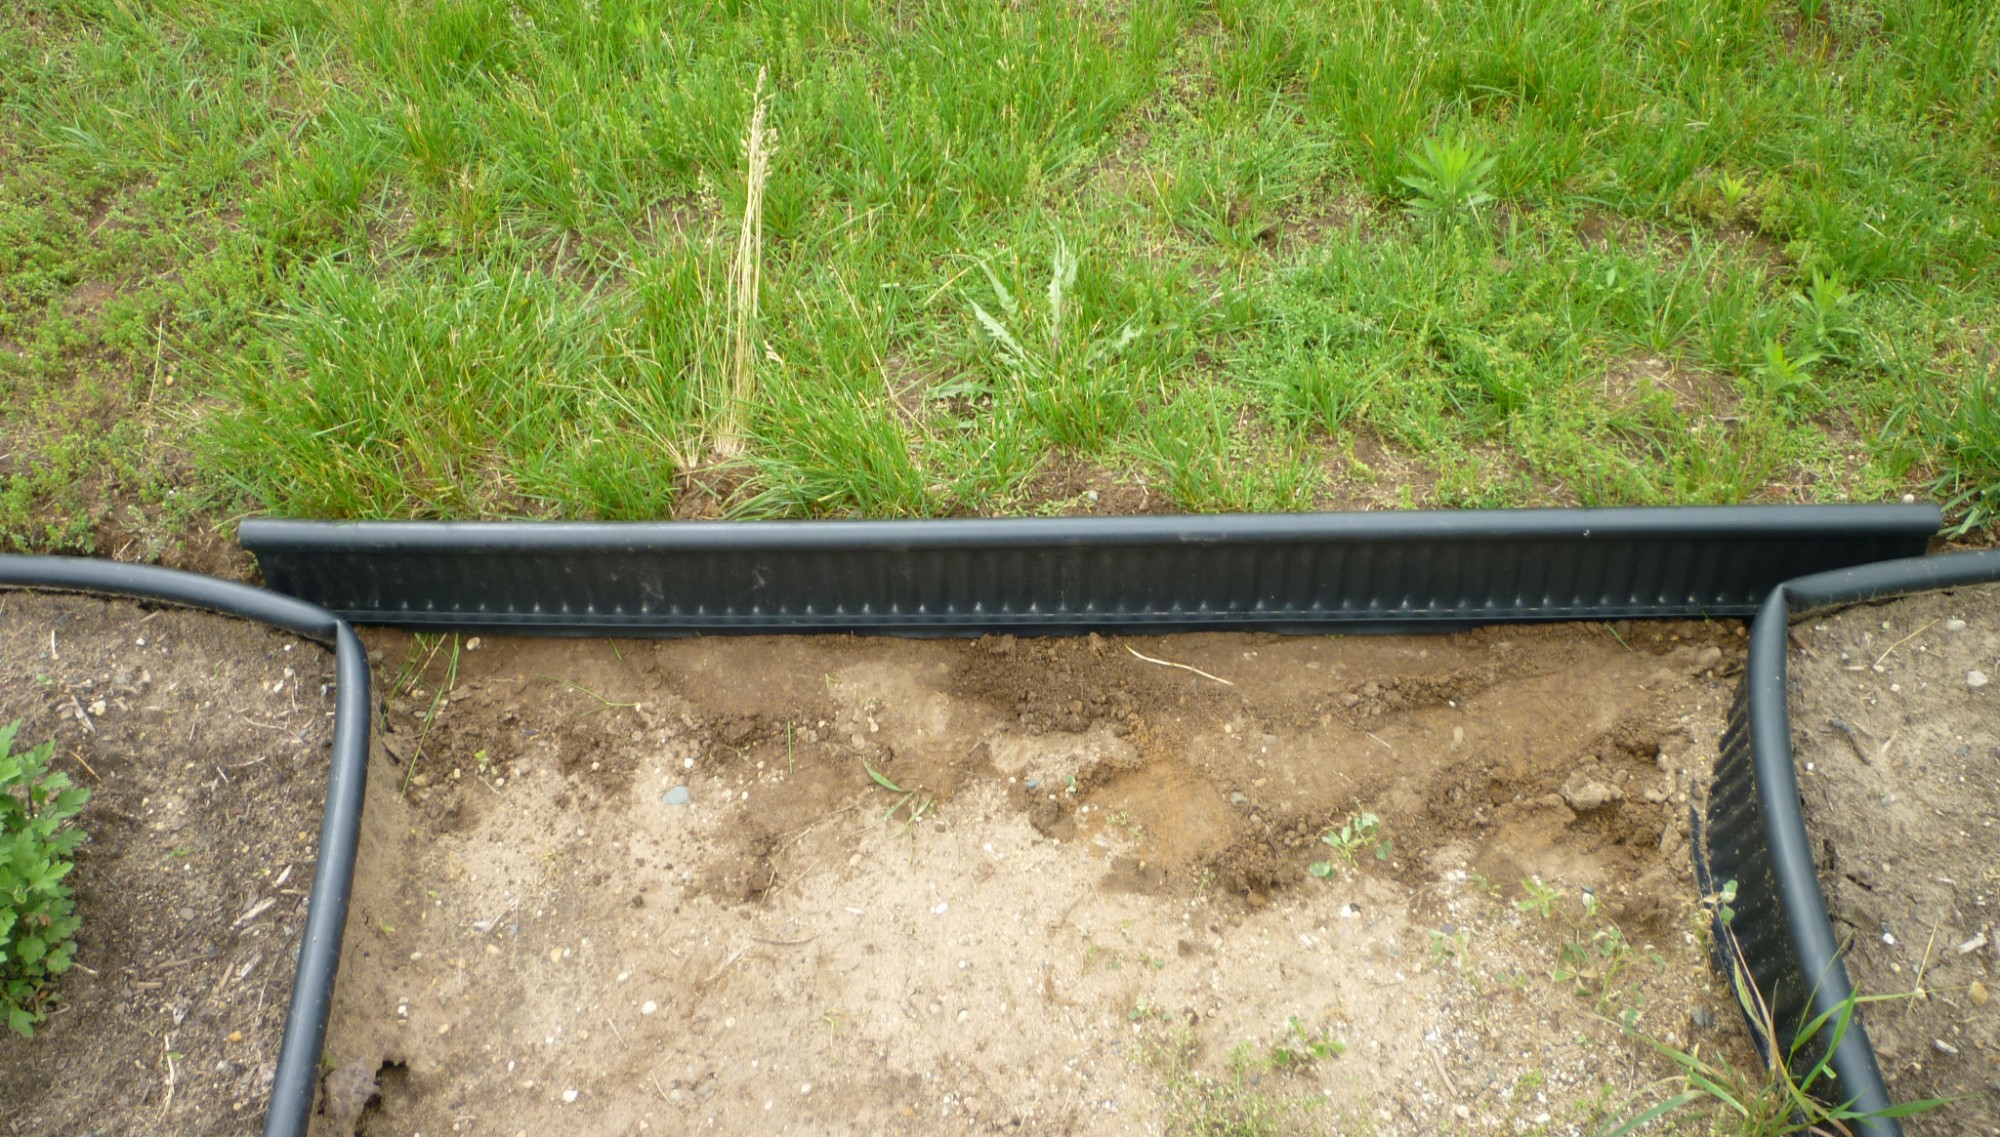
Next you need to put in the black plastic edging. We bought the highest grade we could find. You’ll find the better quality material holds up better and stays put; the cheaper products heave up over time. The price difference is trivial compared to the time to work with this stuff. You only want to put it in once!
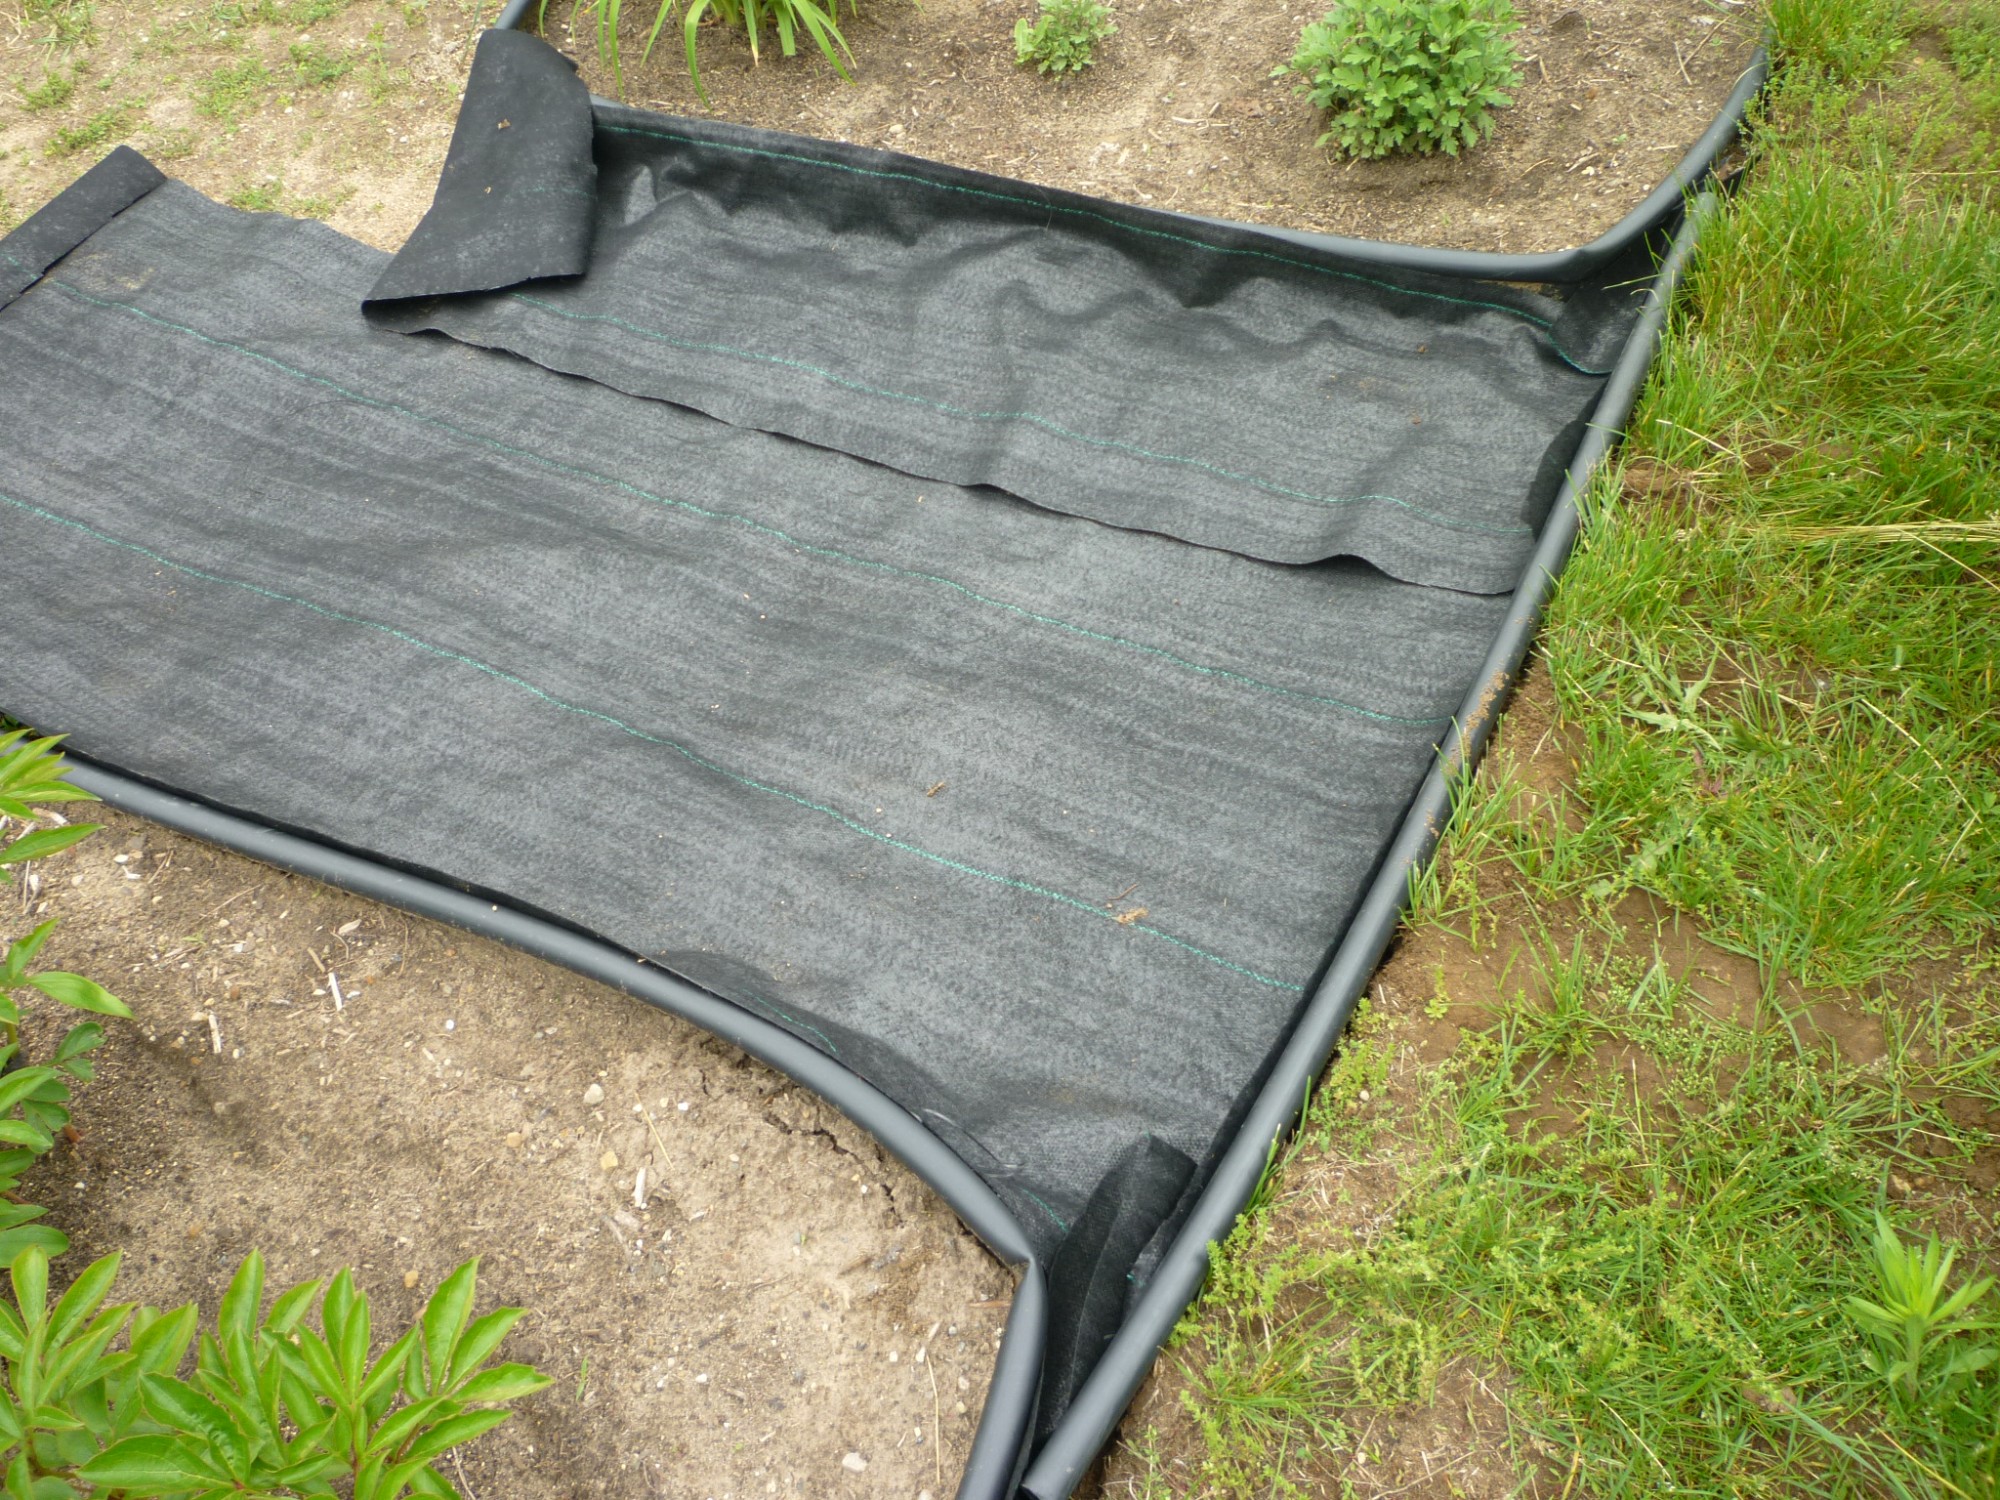
Now lay down the fabric underlayment. We bought 3 foot wide base and I ended up cutting a second piece. You can see that the fabric laps up the sides of the edging and actually flops over the top. The two pieces overlap about a foot. The fabric package emphasized the need to overlap pieces. I made sure there was fabric in those pesky corners too.
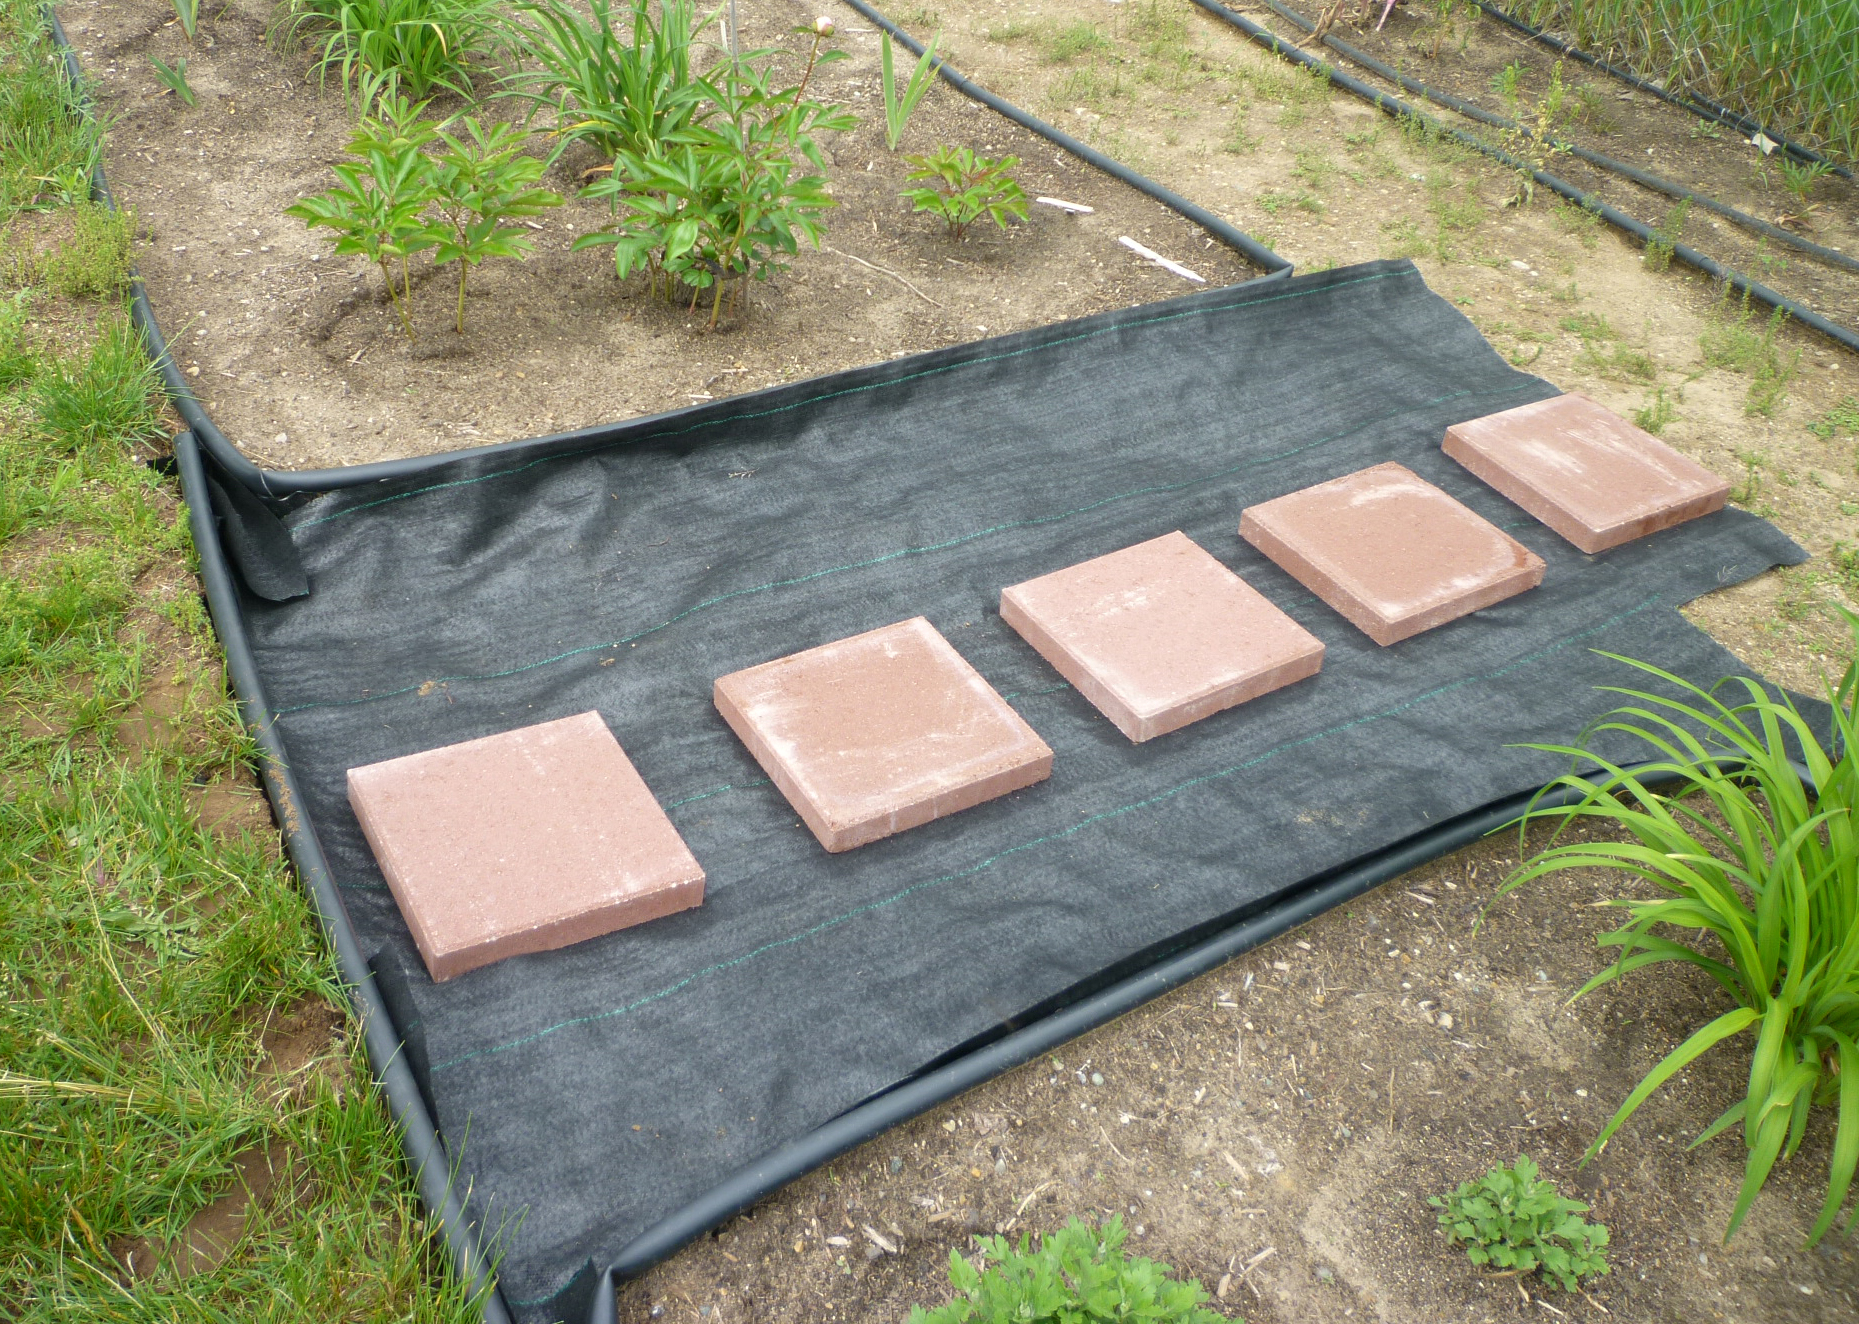
Next I laid down the stepping stones. They are a little thinner than the depth of the pathways.
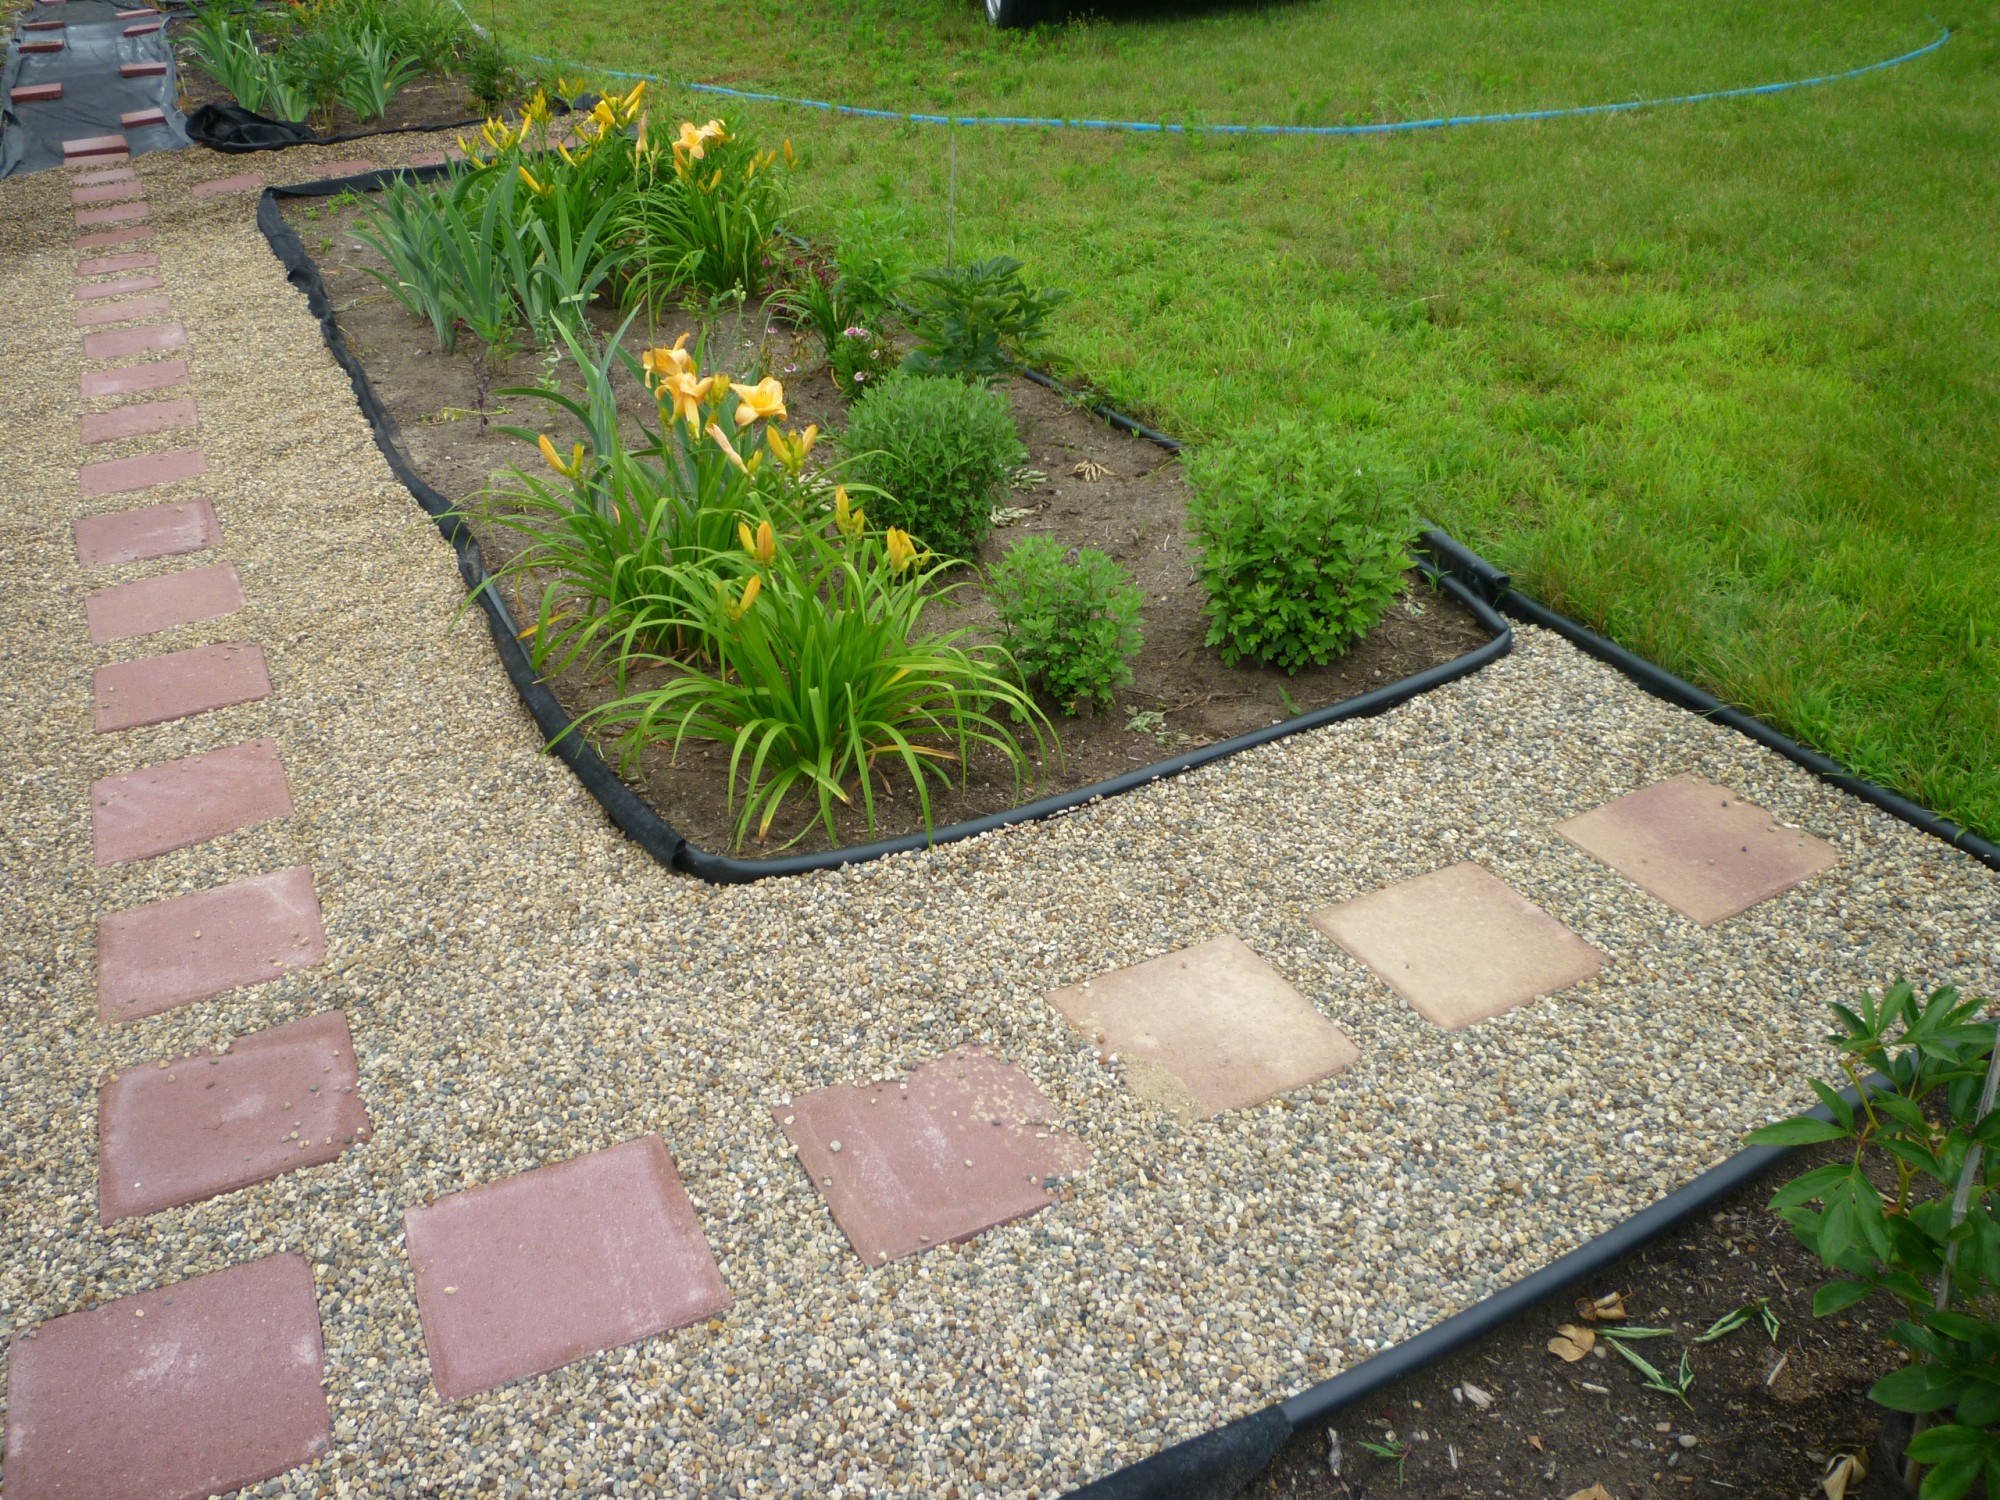
I ended up lifting out most of the stepping stones and worked with just a couple down. It was easier to push a wheelbarrow full of gravel with the stepping stones out of the way. I moved a wheelbarrow full at a time, dumped it on the stone, then knelt down and used my hands to shove the gravel around the stepping stones.
This step proved the value of leaving the fabric flopping over the edges of the garden planting areas. I could hold up the extra fabric and smooth the gravel into place without getting a bunch into the soil.
Here we go with the section done!
This is already a long post and next week I’ll cover some of the things I’d do differently if we set up another garden.
Thank you Susan for hosting Metamorphosis Monday!
Shayla says
Pretty section of content. I just stumbled upon
your web site and in accession capital to assert that I acquire in fact enjoyed account your
blog posts. Any way I’ll be subscribing to your feeds and even I achievement you access consistently fast.