Before we get started, let’s be frank, shall we? I am no pie maven and my cherry pie (or any other type) is not perfect. This is to show how to make a pie even if your crust-making and rolling out skills are, let’s say, modest.
Recipe for Pie Crust
Easy Pie Crust from Mom
3 cups flour
1/4 t salt
1 cup Crisco or equivalent (Way back Mom used lard, but now we use good vegetable shortening.)
About 7/8 cup ice water
Sift the flour and salt together into a big bowl. Use a bigger bowl than you think you will need because the stuff goes all over the place in the next step.
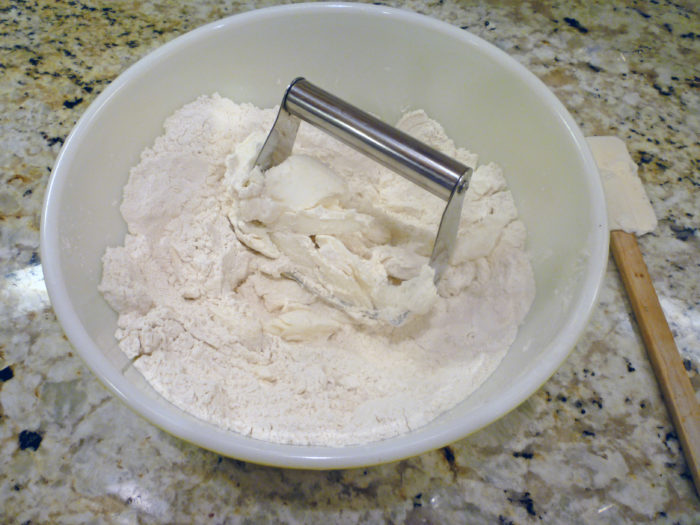
Dump Crisco into flour and cut up with pastry blender.
It takes a bit of pastry blender cutting up time to get it right. Take your spatula and get the shortening that is stuck on the sides of the blender back into the flour mix.
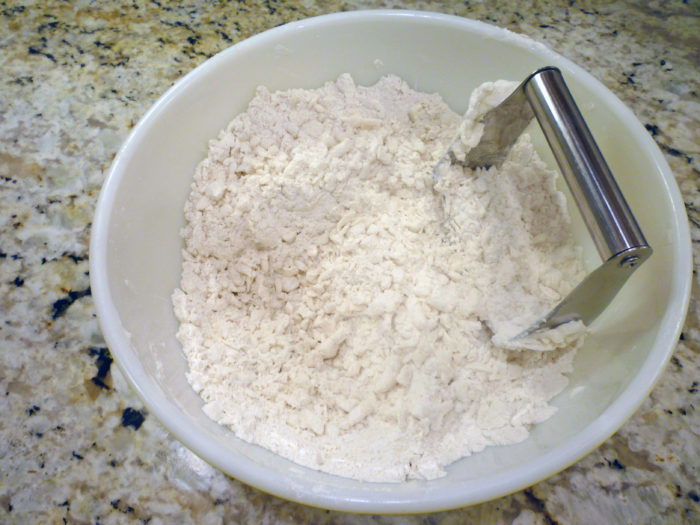
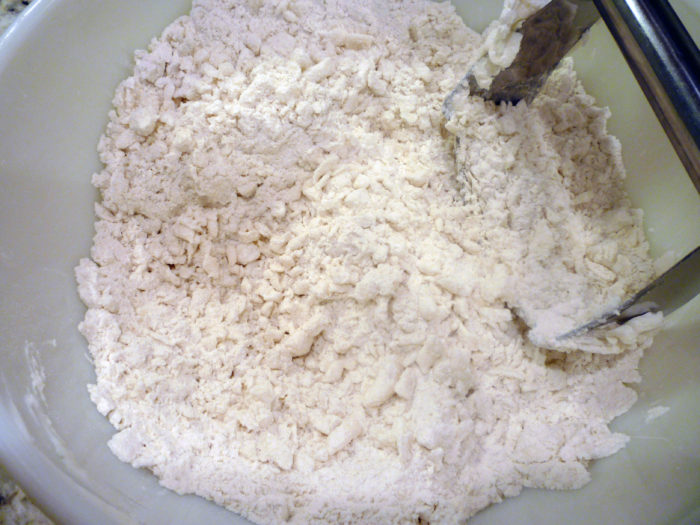
The little globs of flour-coated shortening should be about the size of a pea and fairly consistent.
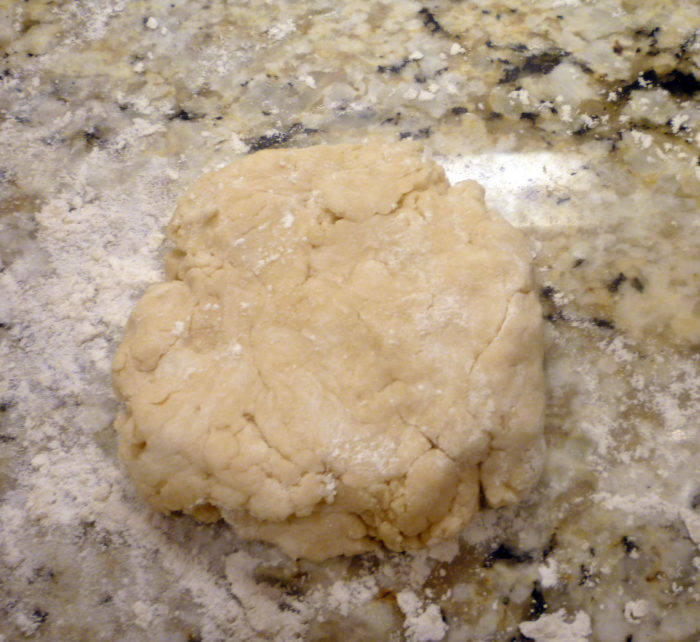
Now slowly pour icy cold water into the mix while you stir it into big clumps with a fork. Pour a bit, then stir, then repeat. You can take out the finished clumps and put them on your floured surface. It takes about 7/8 cup of cold water and you don’t want to pour it all in at once since the amount can vary.
Take the crust out of the mixing bowl and put on a floured surface.
Roll Out the Crust
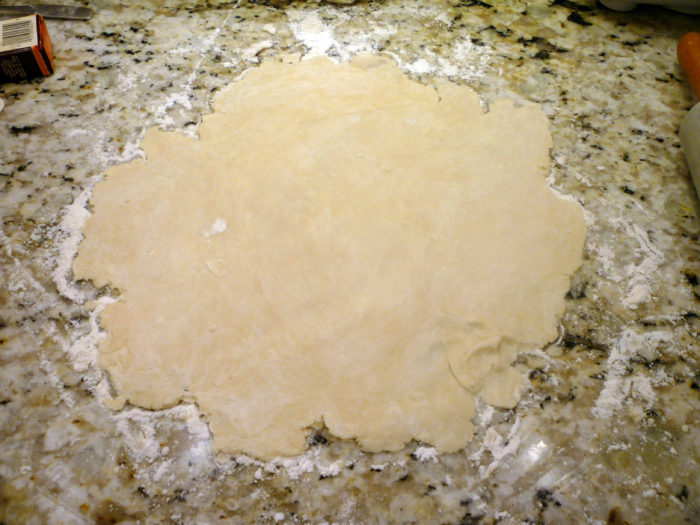
I made one pie in the last 30 years or so and it showed with this next step! Take a good size blog of crust, a bit more than a third of what you made. Sprinkle your work surface with flour and spread it around with your hand. Flour your rolling pin and use light but firm pushes to spread the dough.
I rolled it out directly on the cold granite counter top and I think it would have worked better on the wood pie board that Dave uses.
See the blobby spot in the lower right hand corner? The crust tore when I rolled it and I just stuck it back together and rolled some more. Don’t worry about perfection. This isn’t a contest.
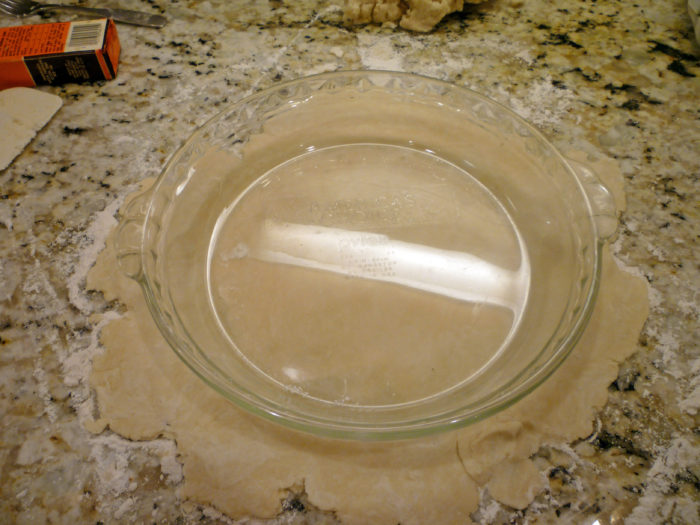
We had a lot of cherries so I used our biggest deep dish pie plate, about 10 inches. Use what you have and will hold the fruit. Check whether your dough circle (or sort-of circle) is big enough by comparing to the pie dish.
Put the pie plate down close to your rolled-out dough and carefully fold the circle back into half and lift off the counter and put in the dish. Mine ripped a few more times here so I just tugged it over and squished together.
Cherries
1 quart tart cherries, pitted, with juice
about 7/8 cup sugar, between 3/4 and 1 cup depending on how tart the cherries are
few drops red food coloring (optional)
3 tablespoons tapioca
butter
Mix the cherries with their juice with sugar and food coloring. Tapioca and butter come in the next step.
We are lucky enough to live in Michigan, the middle of tart cherry heaven. Dave buys a lug of cherries, about 20 pounds, and pits them and freezes the yummy fruit in plastic bags. Sometimes he puts sugar in the cherries before freezing but not always, so I had him check. (He thinks my preference is too tart.) This time the cherries were without sugar and he put in just under a cup and stirred. You can add a few drops of red food coloring too.
If you don’t have your own freezer stuffed with bags of frozen cherries then buy canned cherries. Don’t use already-made cherry pie filling because it’s nasty, all goopy juice and too sweet and not enough fruit. Buy two or three cans of tart cherries and use about 3/4 to 1 cup of sugar.
Assemble the Pie
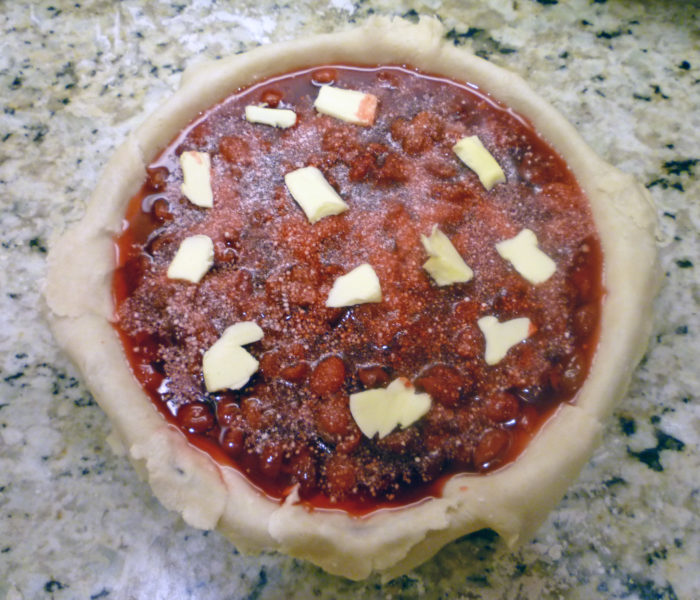
Pour the cherries in their juice and sugar into the bottom crust. (Here is where any tears will show up because the juice leaks through.)
Sprinkle tapioca on top the cherries to thicken.
Dot with butter.
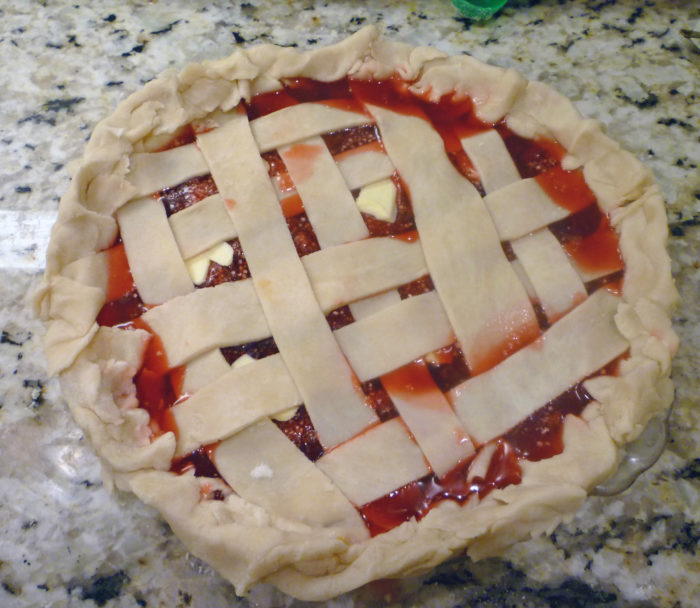
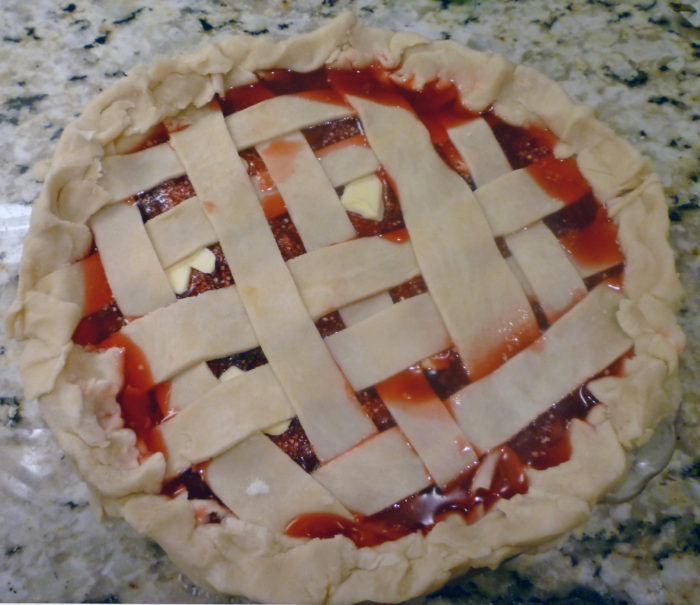
I like a lattice top for cherry pie, as that’s what my Mom always did and it looks pretty. Roll out a smaller glob of crust and cut into stips about 1/2 inch wide. Start with one end and stick the edges of the first strip to the top of the bottom crust. You can weave the crust strips to be fancy but don’t worry if you miss a couple. I was pretty proud of my weaving until Dave noticed that a few overs-and-unders were missed.
You can press the top down onto the bottom crust with a fork, then cut off the excess pieces, or mush the top and bottom together with your fingers as I did here. My pie was pretty full and the extra 1/4 inch of edging gave some margin to keep the cherry juice in the pie and not on the oven floor.
Brush top with a little milk and sprinkle with sugar. This is optional and you can do it when the pie is done baking if you like.
Bake the Pie
Preheat the oven to 450 and put a sheet underneath to catch any drips.
Bake the pie for 10 minutes at 450, then lower to 350 and bake another 50-60 minutes under the bottom is brown. My pie wasn’t browning on the top so we pulled it out and and brushed on a little milk and sprinkled with sugar, then baked another 10 minutes or so.
Let it cool.
This is wonderful alone or with vanilla ice cream.


Leave a Reply